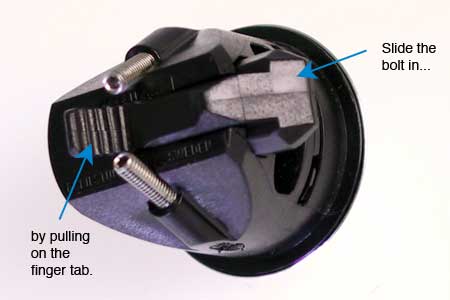
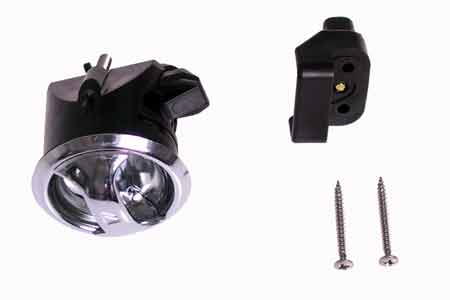
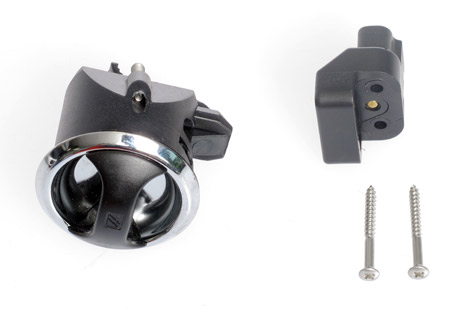
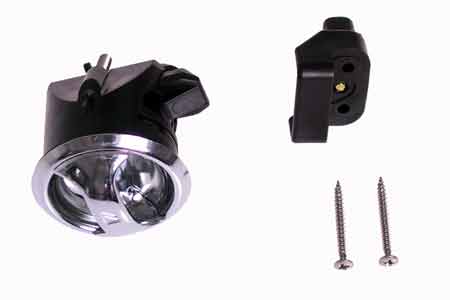
The early production version latches were prone to failure when the knob was turned too hard against its limit. In mid 2008 we secured a supply of latches with the critical component molded from a stronger plastic. In the series of photos below, we show you step by step how to disassemble your latches to see if they are the older, more fragile design, or the newer, more robust version.
| 
|
Disassemble the latch using these steps. Step 1: There are two springs, one behind each half of the sliding bolt. Move and hold the bolt in the latch’s open position. |
Step 2: Use your fingernail to release the catch that holds the keeper into the body of the latch. | 
|
| 
|
Step 3: Draw the keeper out of the body. Continue to hold the bolt in place with your thumb to keep the springs from pushing it out. If you let it fly you will lose the springs. |
Step 4: This is the keeper removed from the latch. This releases the knob which has also been removed. | 
|
| 
|
On the left is the original black part that has failed. The clear part (white, on some of the new ones) on the right is our stronger replacement. Note that we are still holding the slide bolt. To reassemble, place the knob back on the latch and slip the keeper back into the latch body. |


